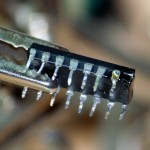
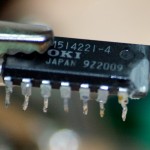
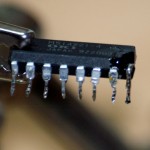
Howto: DIL IC leg repair
So… You’ve got an IC that you’ve been working on, and you’ve managed to snap a leg off. At this point, you can:
- Fly into a rage because you’ve just broken something that is nearly impossible to replace
- Search google and get frustrated at the futility of the search
- Have a beer. Or two.
- Wonder how to repair the thing, after all the DIL package is only there to make it easy for us humans to handle the thing
I went from stage 1 through 4 within about 10 minutes, and found a useful article on electronicspost, which offered a little hope that there might be enough metal to solder onto.
There wasn’t.
So it was out with the Dremel to see if I could gently coax some more metal into being visible. Not the world’s greatest job, but a result nonetheless.
From here, I managed to solder a leg on. I then used a spare 16 pin DIL socket to mount the chip into semi-permanently so that stress on that replacement leg could be avoided.
Best of all? The chip works perfectly! Which is what is known in the trade as a result.
If I can do this, anyone can.


