Howto: Paint your Amiga 500, 1000 for good results
Chances are that if you have an old Amiga, it’s not quite the colour it once was: it’s slowly doing a David Dickinson and getting more tanned as it gets older. Yellowing, or full on browning.
The reason for this seems to be that flame retardent compounds, based on bromine, were added to ABS plastics and may lose their colour stability when exposed to UV light over time.
A team has come up with a way of reversing this, which basically bleaches the colour change out using hydrogen peroxide: the solution was called retr0bright. This works, but in my experience is not a permanent solution: after as little as 6 months I’ve seen the yellowing (or browning) come back. You can of course re-apply retr0bright, but it’s not a particularly pleasant thing to do, and if you’re not careful you can get a mottled effect.
So what’s the solution?
Painting.
There’s a few challenges with painting: the colour to choose, the paint to use, prepping for painting, priming, the actual painting and finally lacquering.
What paint: There are specific paints available for plastic, from Plastikote available in model or hobby stores, to car paint from Halfords. And then there’s stuff designed to refurbish uPVC windows…
I’ve tried car paint, plastic primer, etc and frankly it’s a pain what with prepping, sanding, painting, sanding, and more sanding – and despite my efforts the results were not great. I then came across KolorBond paint, designed for direct application to plastic with no need for primer and thought it worth a try. Bootsie had done the hard work in proving this works, and matching the colour. I bought a few rattle cans (to minimise the postage per can, and I don’t have a paint spray gun) and WindowPrep from KolorBond direct.
Enough waffle: how does it look?
Before: (pics taken with same artificial warm white LED light source)
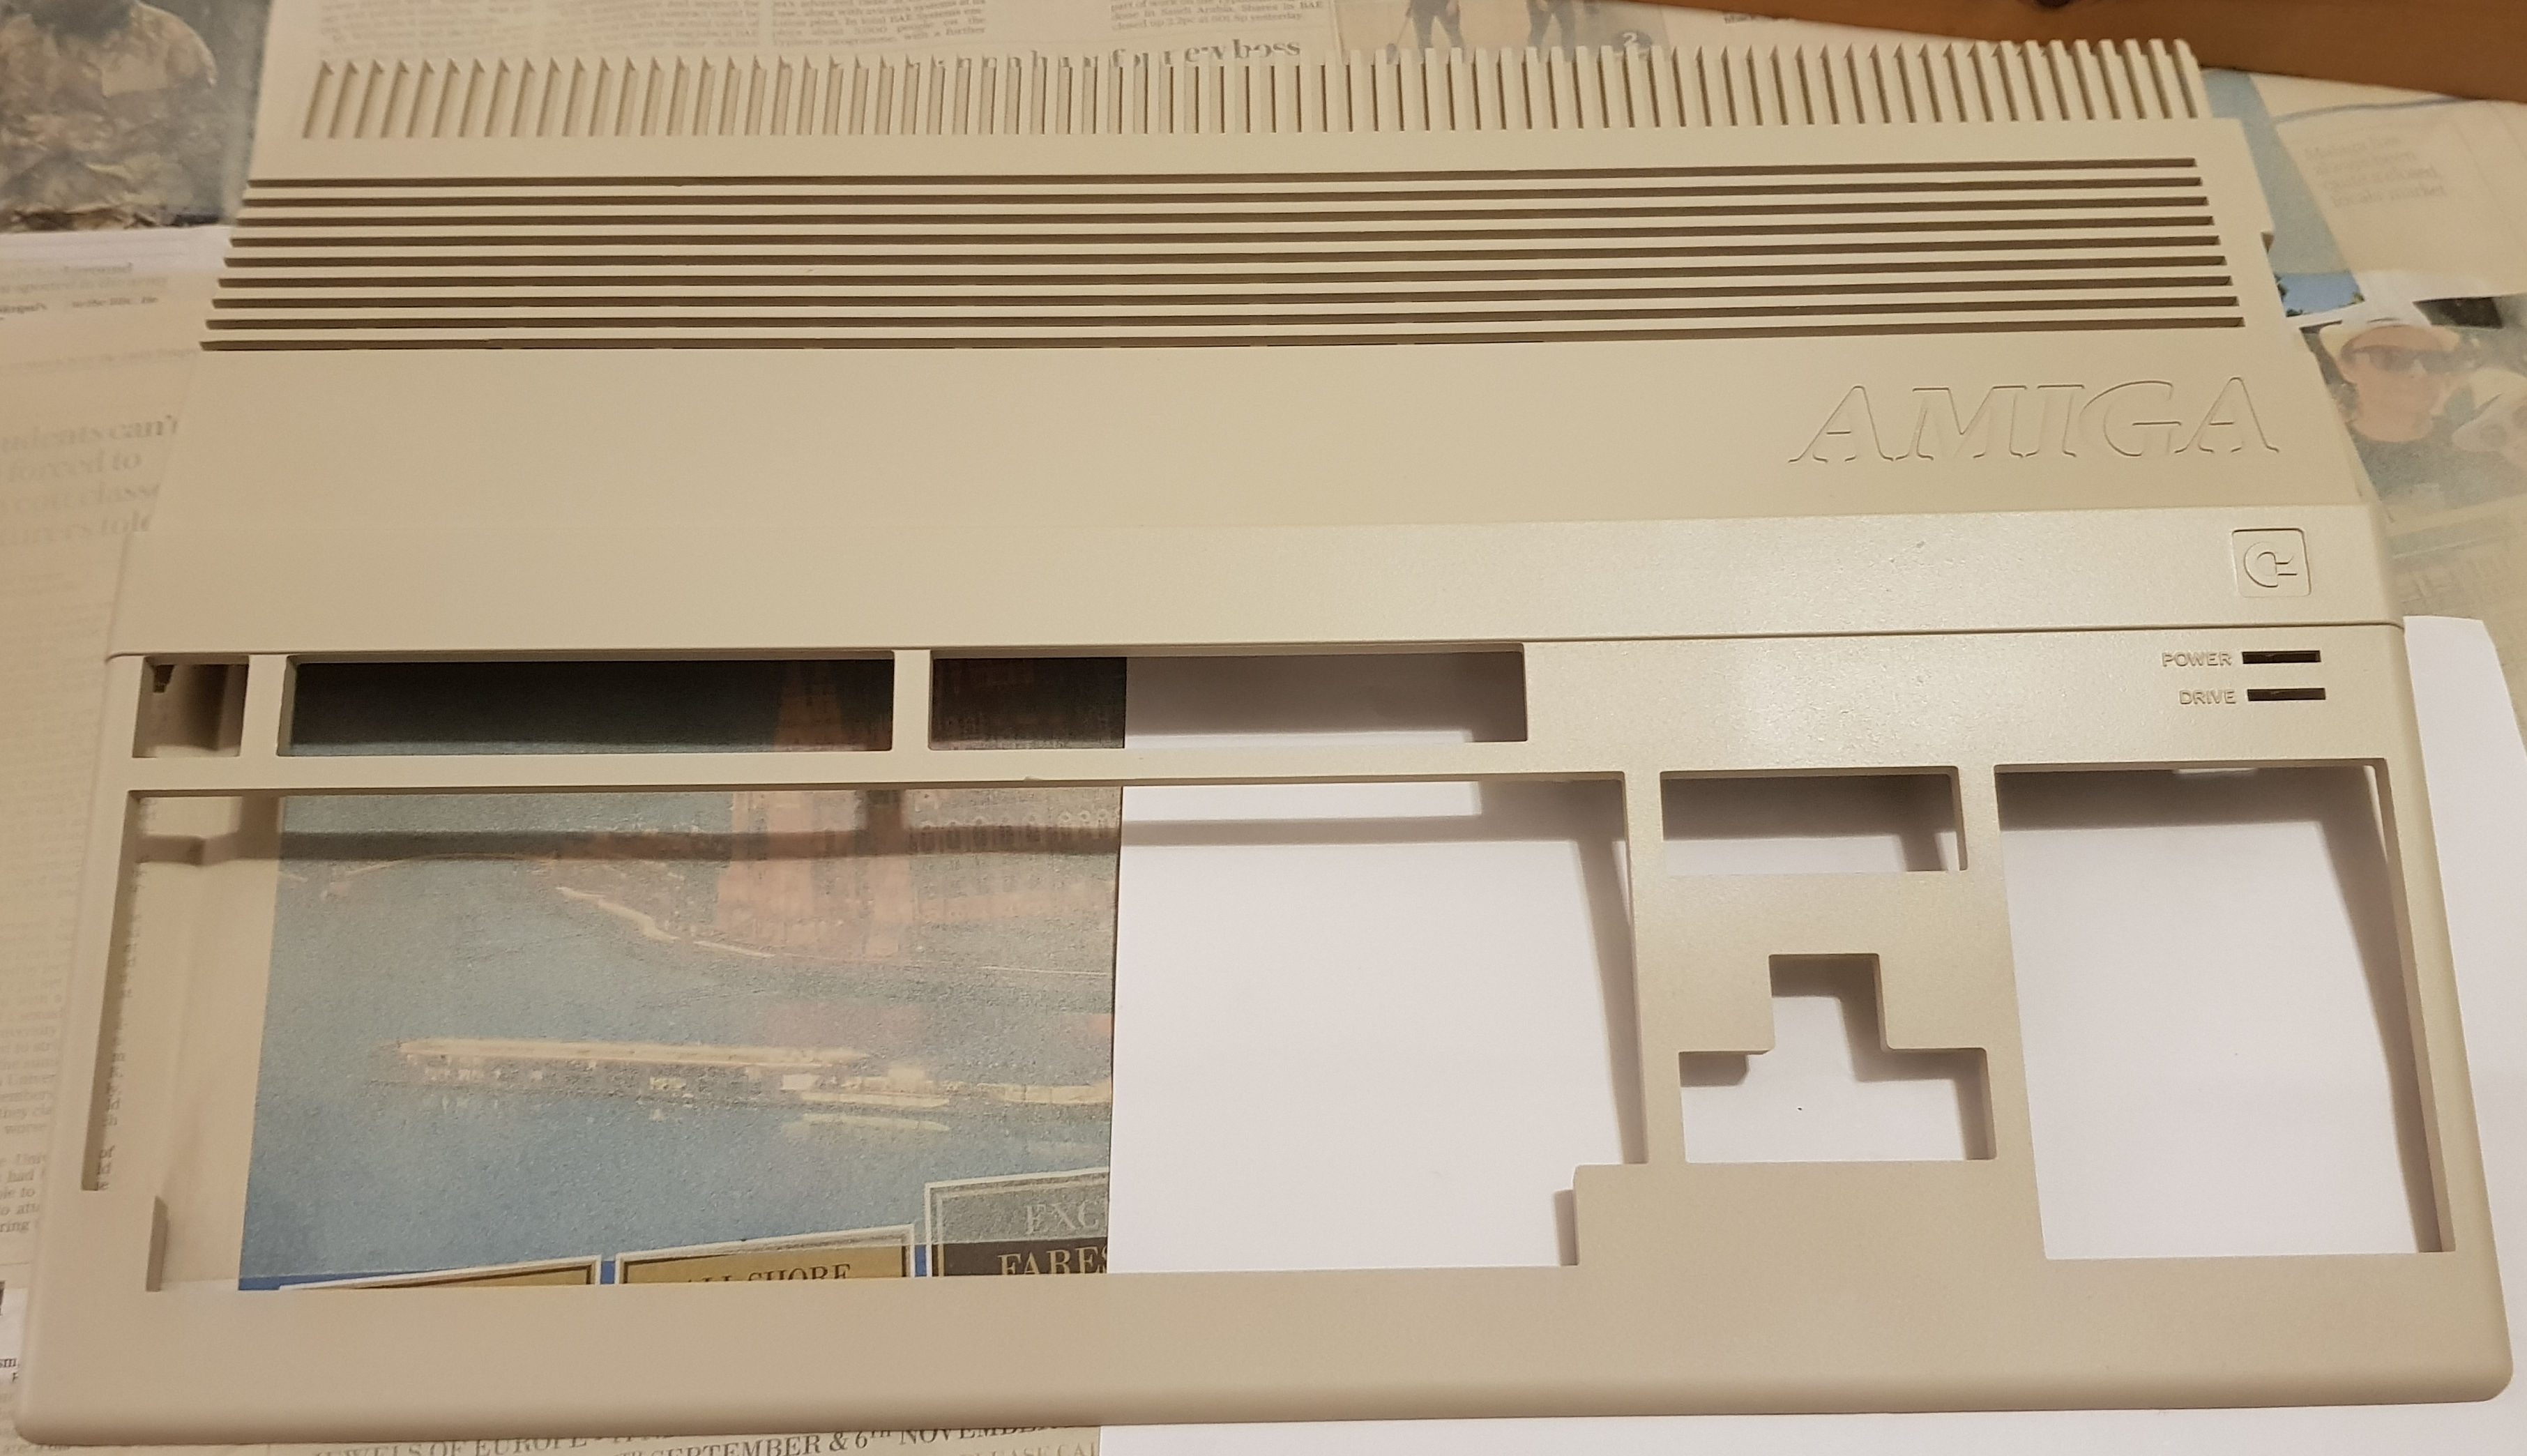
Before any treatment – very patchy, front is almost brown, rear is yellowed. Paper is plain white A4 for comparison.
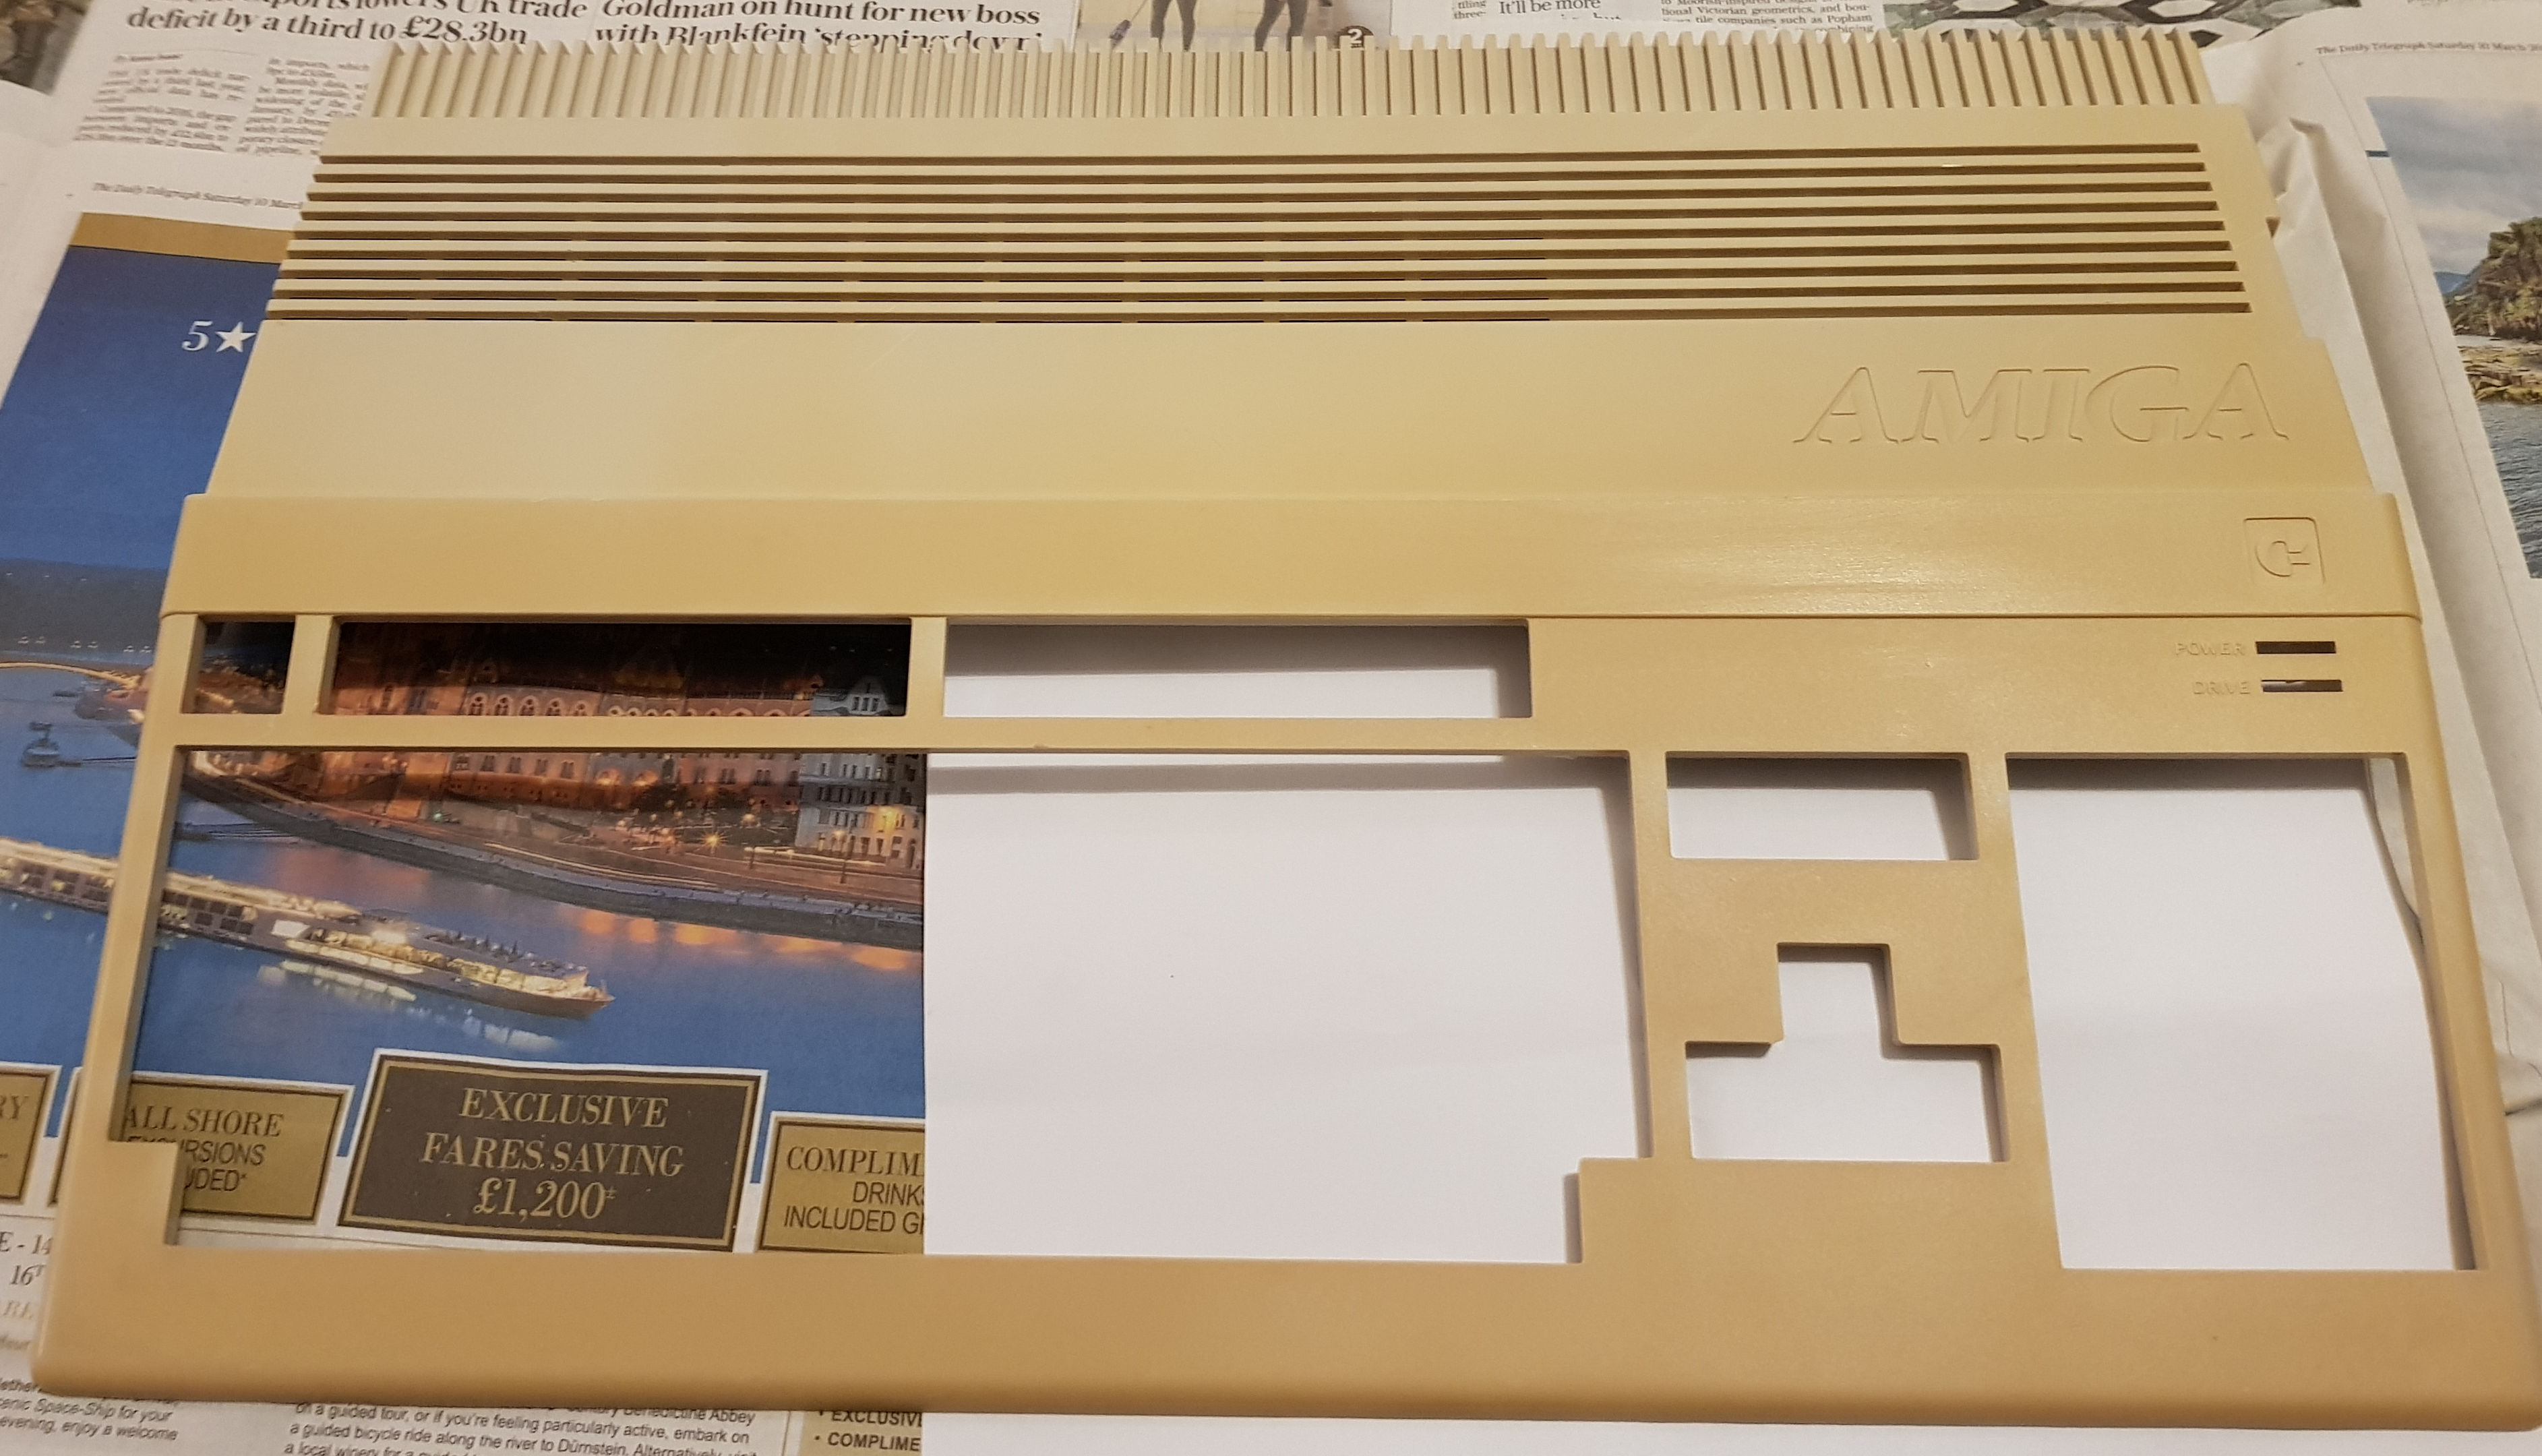
After:
3 very thin coats later…Â Same paper for comparison (it was removed during painting!)
Side on:
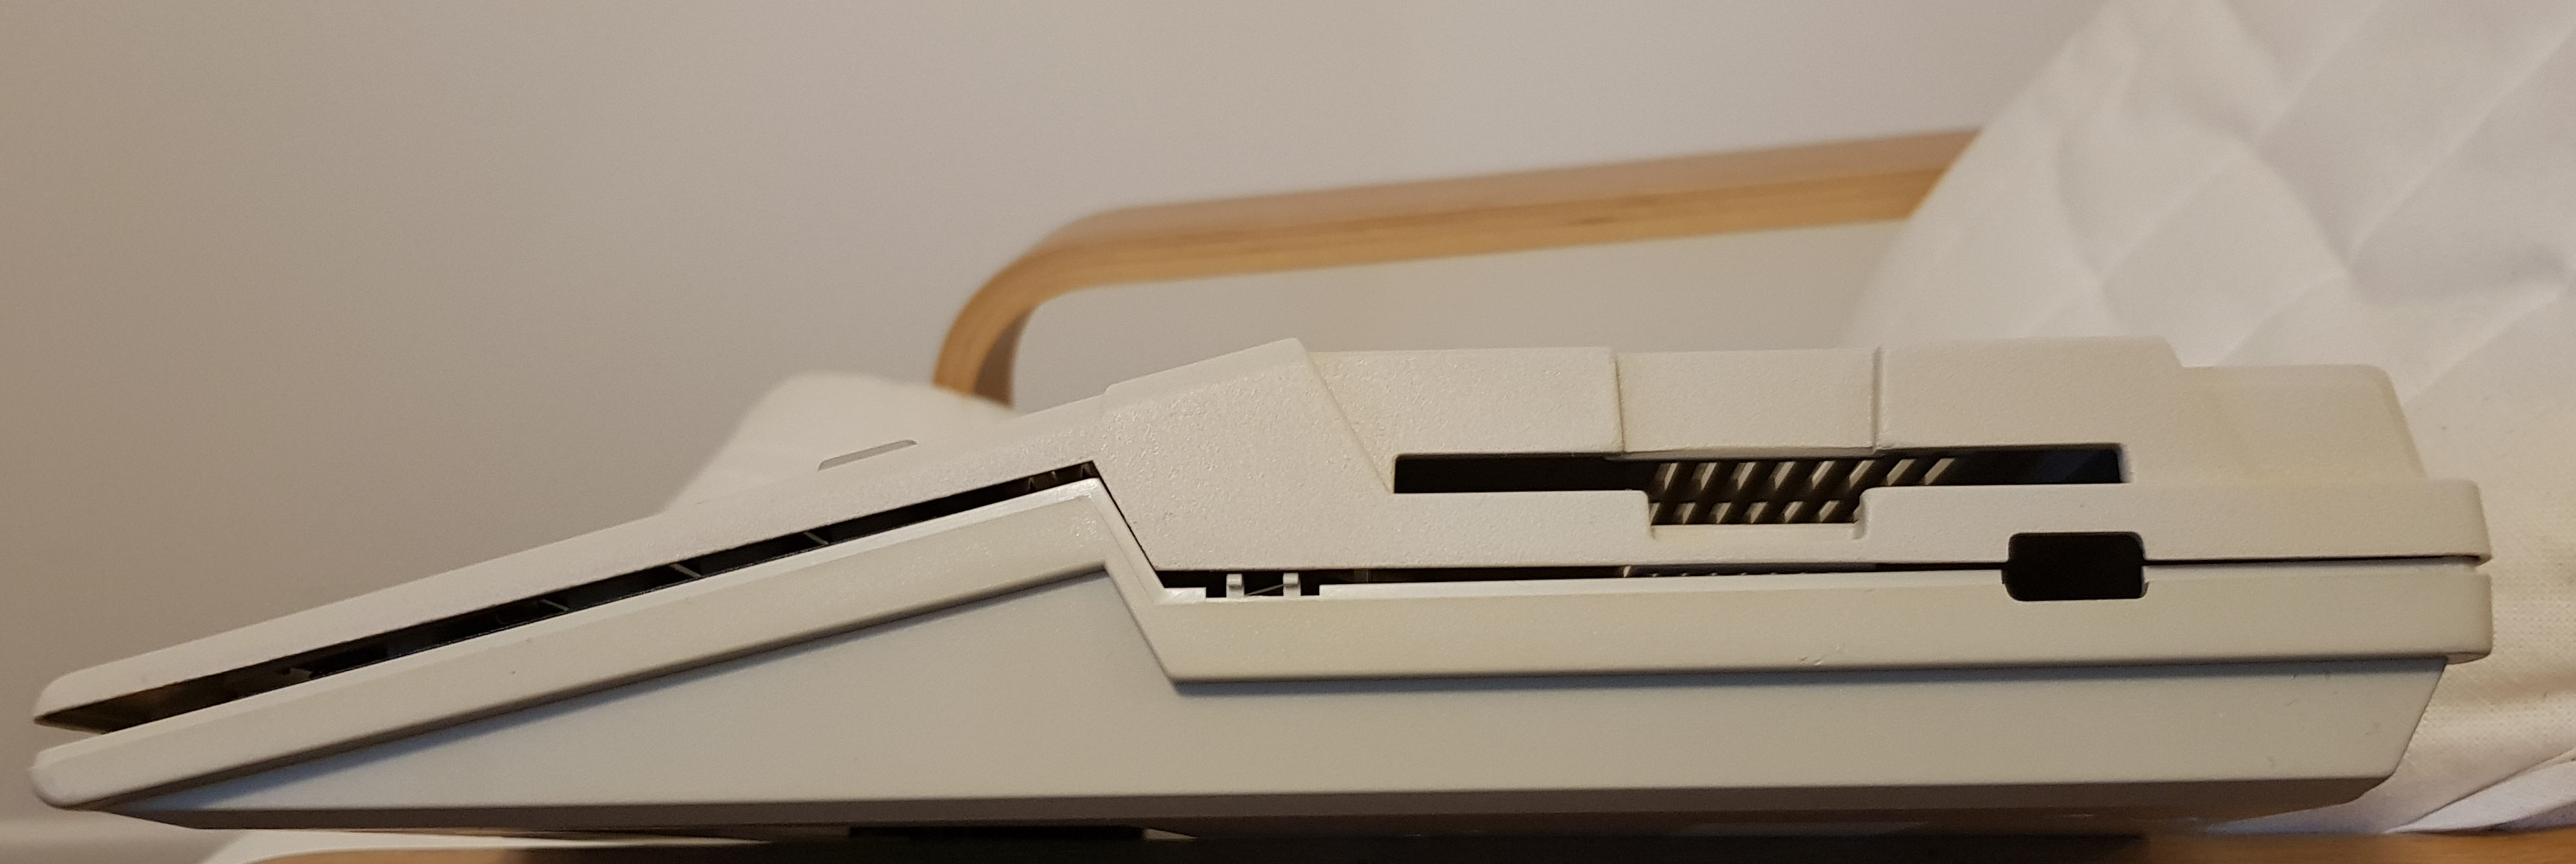
Side on: the bottom has not been painted and does not seem to have yellowed. For completeness it should be painted…
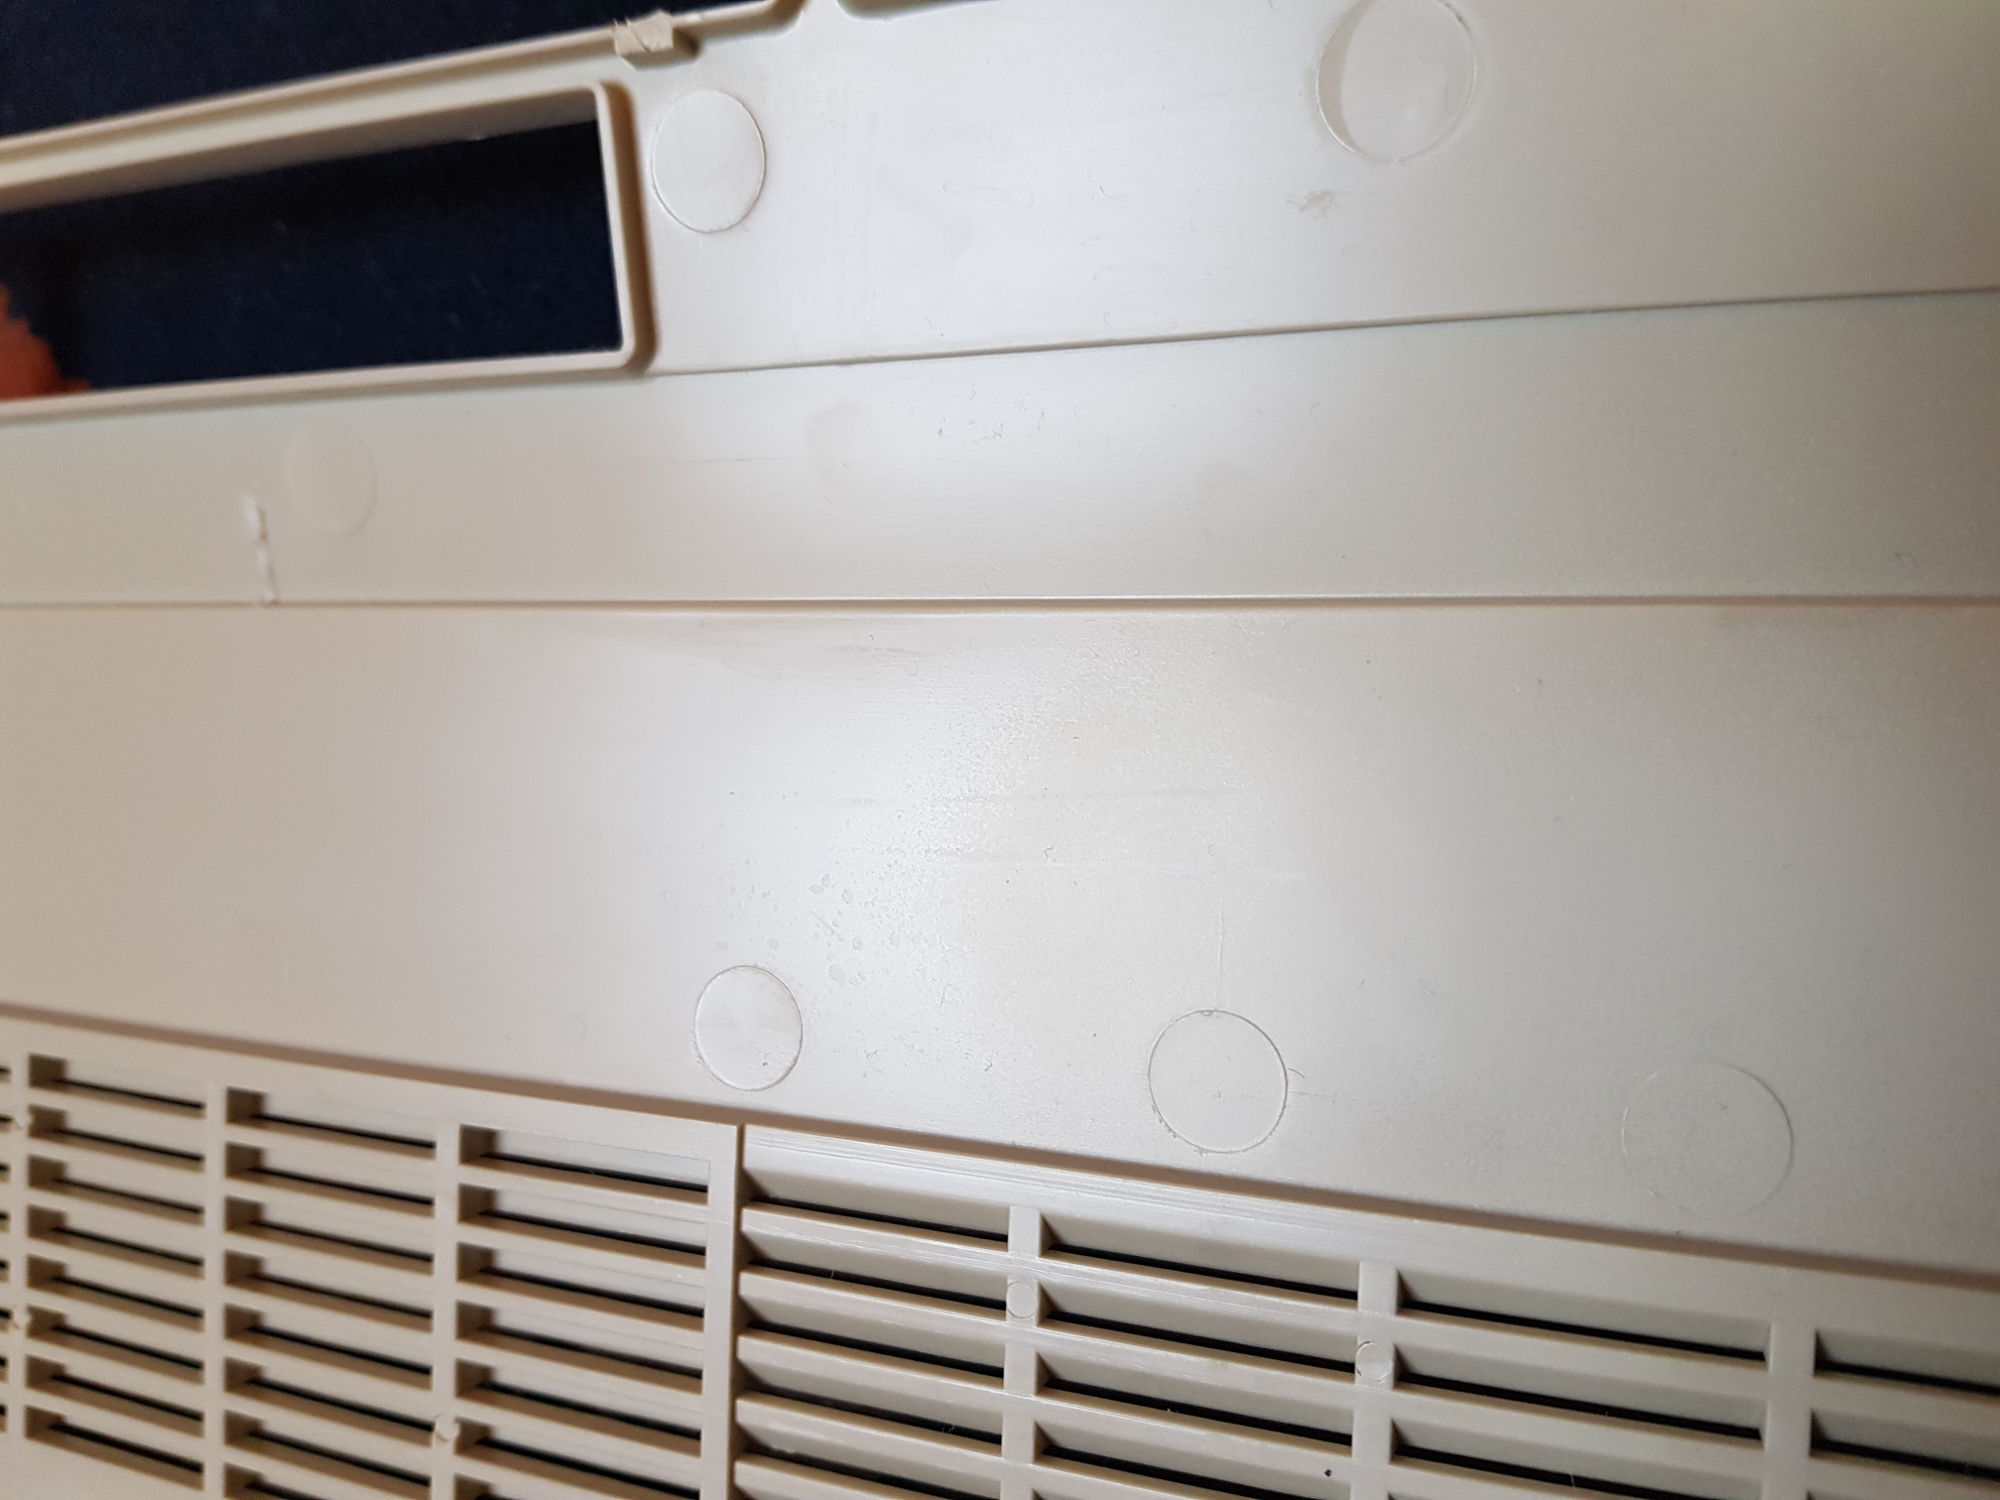
Inside: there’s a patch I’ve painted to check colour and adhesion. You literally can’t see it on this picture, but there’s a slight difference in the texture. The colour is perfect.
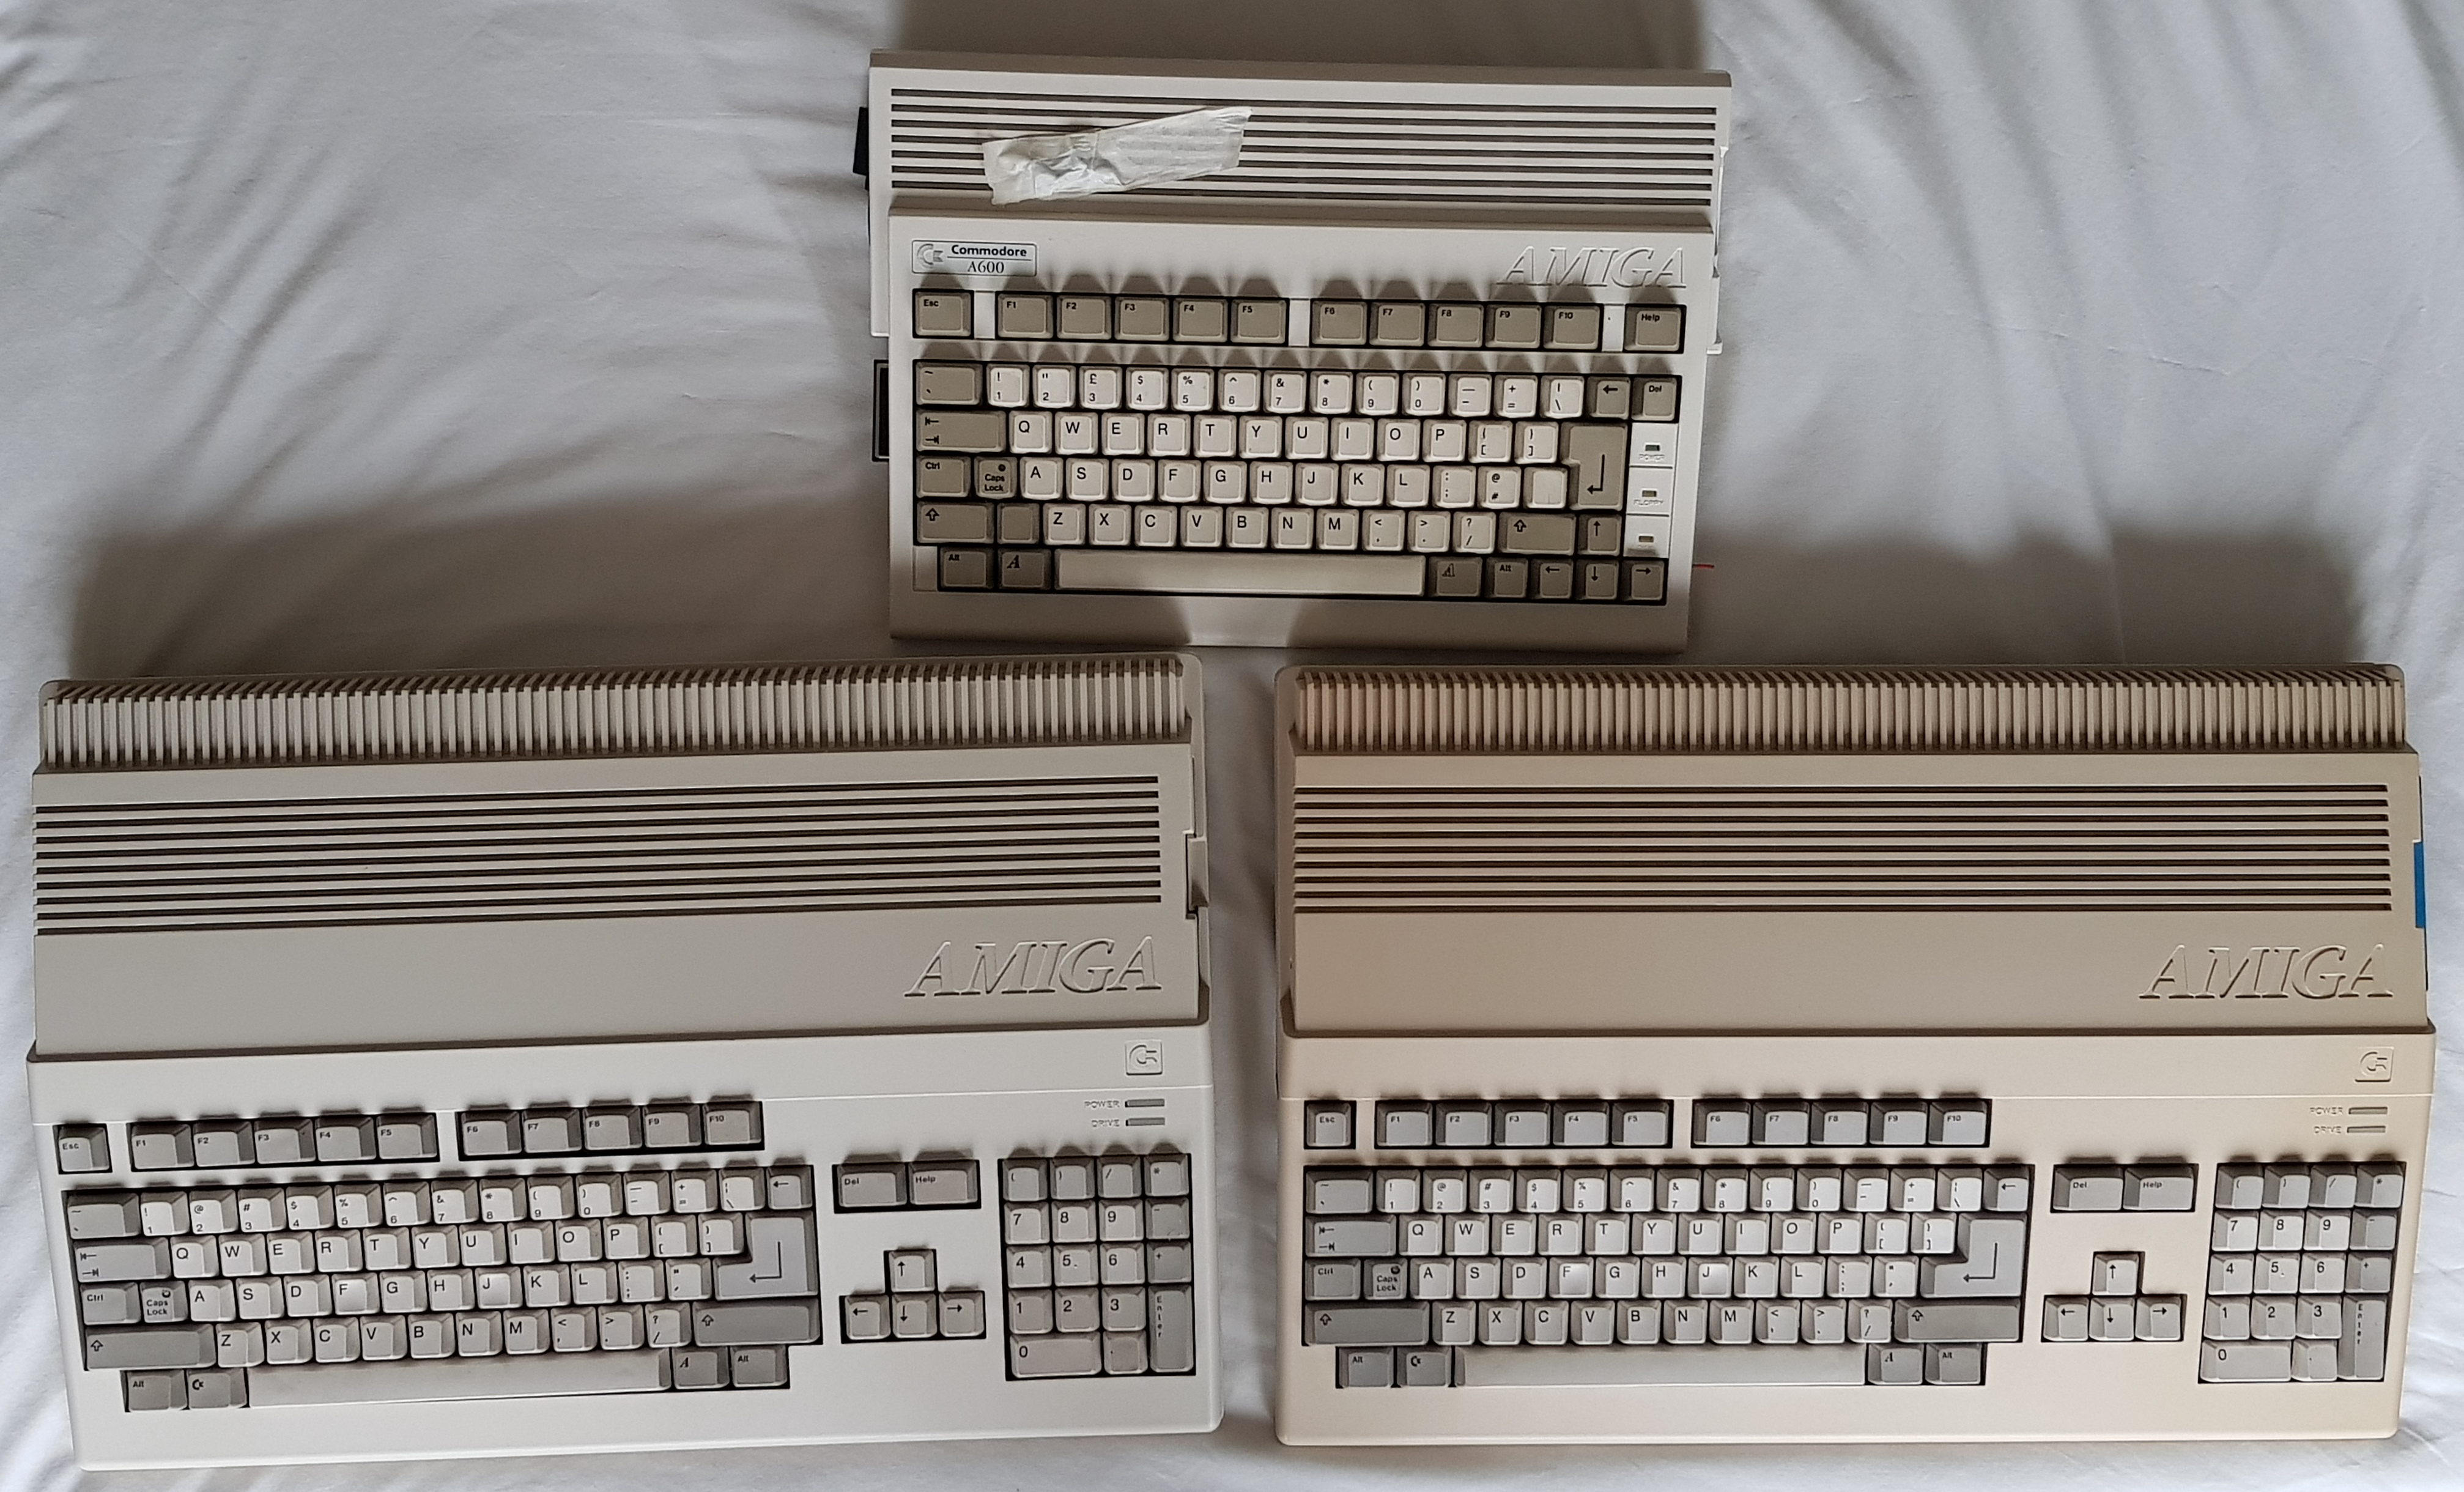
Compared to the A600 (and what I thought was a not-too-badly yellowed A500 Chicken Lips case). Sunlight is the only light source on an overcast day. The sheet underneath is not white but more cream-ish. The 600 is definitely whiter, but it was back in the day when it came out.
The keyboards are all NMB keyboards which seem to be resistant to yellowing.
I am tempted to add a thin lacquer to this as the finish is more matt than the original, but not my much. I suspect I’ll be leaving as is.
What I did:
- Disassemble, and clean in dishwasher at 50 degree cycle, remove before drying phase as I didn’t want to warp the plastic
- Rinse further
- Wipe with isopropyl to get rid of any impurities from the water
- Very light sanding with 240 grit to remove a couple of scratches. Careful, you don’t want to ruin the texture.
- Work in somewhere where there’s not much dust! Dust is the enemy of painting.
- Check you’re really happy with the prep. Try not to touch the case, as you’ll leave oily finger marks which will affect paint adhesion. Prep again if unsure.
- DO NOT RUSH THE PREPARATION!
- WORK IN A WELL VENTILATED AREA AS THIS STUFF IS SOLVENT BASED
- Prep with Kolorbond WindowPrep
- Spray very light coat (aka a “dust coat”) and leave for 10 minutes: it dries quickly
- Spray a light coat, leave for 10 minutes
- spray another light coat, leave for 10 minutes
- Spray final light coat, decide that’s covered everything well but is not building up, and leave to dry for 48 hours
Contact details for KolorBond: checking it’s OK to spam these out!
Products used:
- Kolorbond CM105-80 DYNAMICS CREAM MATT – aerosol version, tin for spray guns also available
- Kolorbond WindowPrep 250ml
As mentioned, I’d recommend a different colour for Amiga 600, 1200 and 4000: I’m currently looking into this.
Conclusions:
+ Kolorbond works well, is simple to apply, and gives excellent results even for novices.
+ The colour match is great, the colour is uniform, it seems solid and scratch resistant.
+ Very thin coat needed for full coverage – no build up so original texture is preserved (careful with that sandpaper then!)
~ Ever so slightly more matt than the original finish: A lacquer might help, but will change the texture
I am tempted to offer this as a service: let me know if you’re interested in this…